Home
Commercial & Farm
Vehicles
Location
Services
Unacceptable Material
Asylum History
State Requirements
Benefits
Prices
Material Specifications
For Sale
Winter Hours
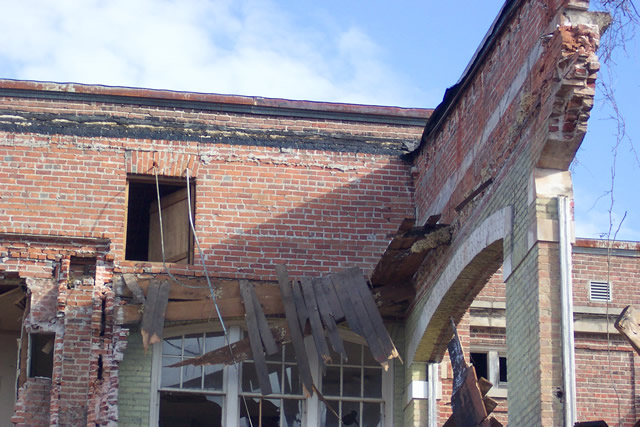
Asylum History
>
Image 3
Image 3 of 16
<
Previous
Next
>